The project began at the end of June 2024, when I was discussing with my partner that we make great documentary style interviews now. The quality of our image, storytelling and overall style has made leaps and bounds.
We found ways to incorporate motion graphics into our storytelling to help keep things interesting and we keep iteratively improving on these things. But the next quantum leap in what we offer our clients will come from something entirely different: 3D animation.
3D animation is much more difficult to implement. Its a whole pipeline of its own. We needed a project that would let us wet our feet in this world. We were ready.
Pre-Production: The Concept
We knew that we needed something that would appeal to invidiuals or businesses that are knowledge-based and looking to improve their personal brand. We also knew it had to be something that we could finish relatively quickly.
It wasn’t hard to settle on the idea of an explainer video. But explainer video of what?
Enter ChatGPT.
ChatGPT was used to help us brainstorm ideas to make a video about. We prompted ChatGPT to give us some ideas and it vomited out a lot of interested potential concepts. Most of it didn’t appeal except for the gravity one.
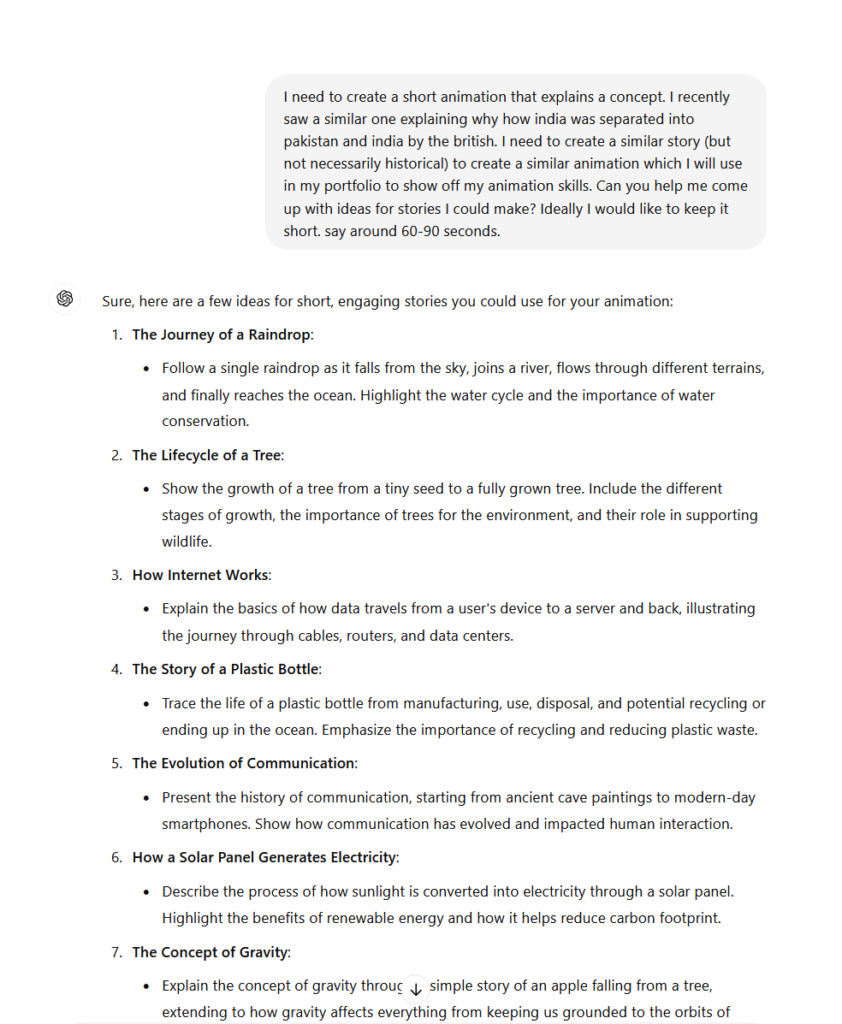
I’m a big fan of theoretical phyisics and concepts like gravity are cool. So I decided this was the one.
But it the AI assist didn’t end there. I used ChatGPT to help refine and create a quick outline that we would later manually refine as well:

Our approach to AI is exactly like an assistant to bounce ideas around with. The answers we are usually not great, but with more prompting we can refine things down.
Usually AI just helps us by giving our own imagination a prompt to help come up with our own ideas.
We took what ChatGPT gave us and refined the script a lot on our own until we had something we were happy with. Then it was on to the next step: creating a storyboard.
Pre-Production: Storyboarding
Creating a storyboard was tough. Mainly because I can’t draw. This project actually taught us a valuable lesson about storyboarding and helped us understand where our limits are with it.
The storyboard is a crucial tool in narrative work like this, because it helps us:
- Visualize each shot individually,
- Help us refine the narrative, timing and pacing,
- Help us determine what assets are required and estimate timelines and resource requirements.
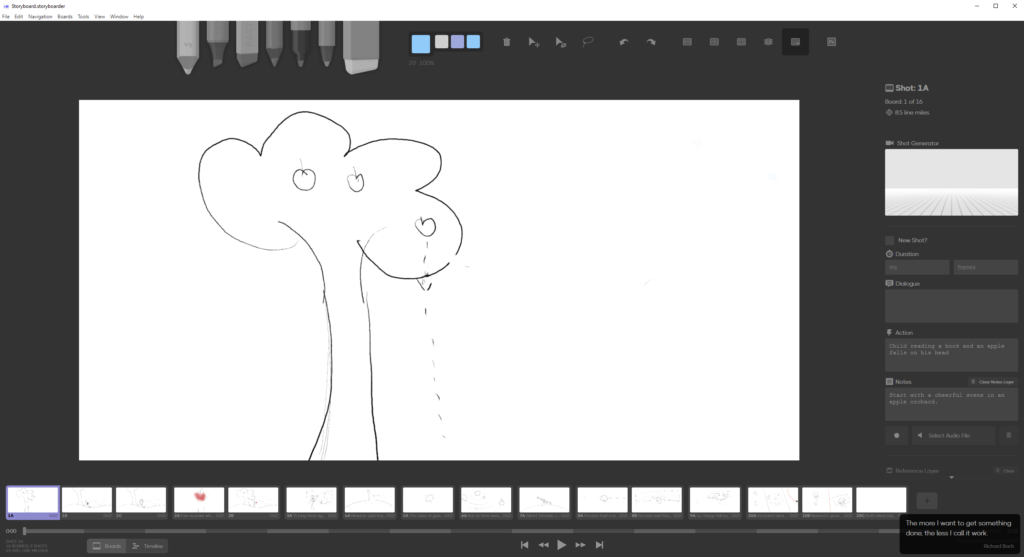
Unfortunately, because I relied on my crude drawing skills I faced many issues with the above points.
First visualizing the shot definitely was useful, but it wasn’t detailed enough so I spent a lot longer during production figuring out how to fill out the shot.
Second because I was drawing crudely I didn’t spend time making what is called an animatic (think of it as an animated storyboard). This would have helped immensely with figuring out the timing and pacing. Instead I spend a lot of time editing and re-rending final shots to adjust timing and pacing.
Finally, again since my drawings were crude, my ability to estimate a timeline and resource requirement was completely impaired.
Fortunately this experience led me to develop a new means of storyboarding in 3D directly. A much more effective approach which we are already using in our next project.
Pre-Production: Gathering References
Once we had a storyboard we needed to figure out a few stylistic choices (actually a lot of these decisions should be made prior to storyboarding, but since our project was small we could get away with doing it later).
We needed to gather references for what kind of style our characters, the environment etc. were going to be.
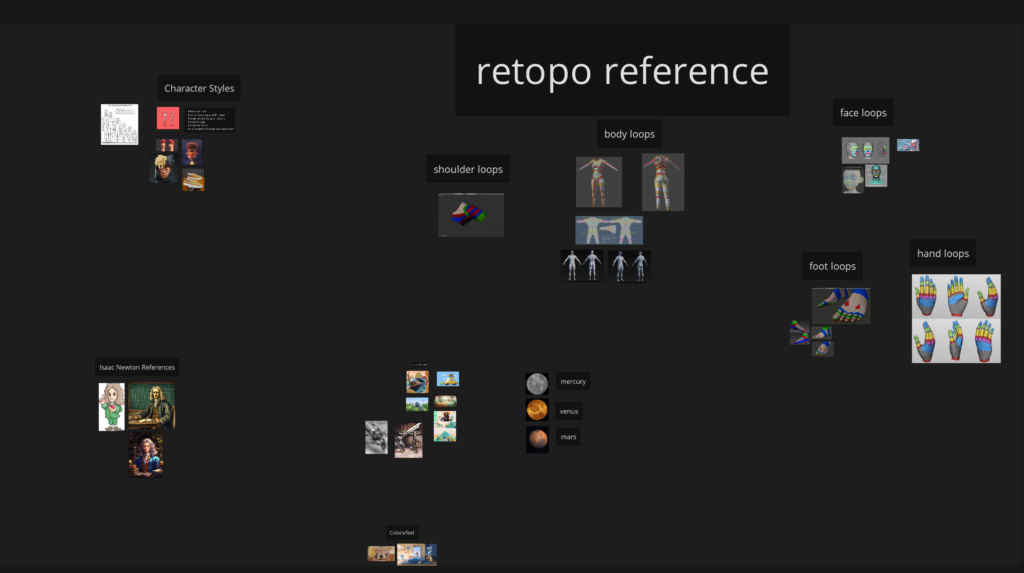
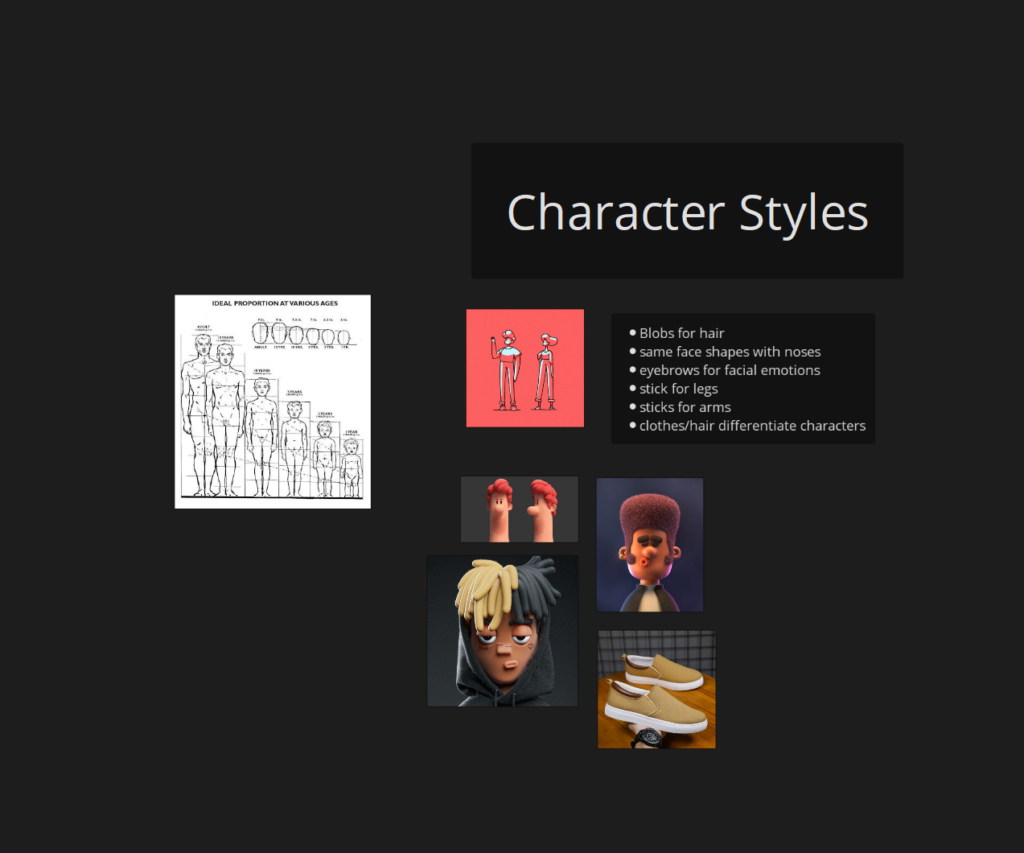
Again here we gathered a bunch of images we found that sort of communicated the style and vibe we were going for, made some short notes (some of which were disregarded later).
The goal here was to get a clearer idea of where were were going.
Production: Initial Fooling Around
Once we collected enough stuff we opened up Blender and began spitballing some ideas: model something, make some materials, etc.
Just playing around with ideas and seeing what works. We had some initial not so great ideas come through as well.
Our first test character had a look more like this:
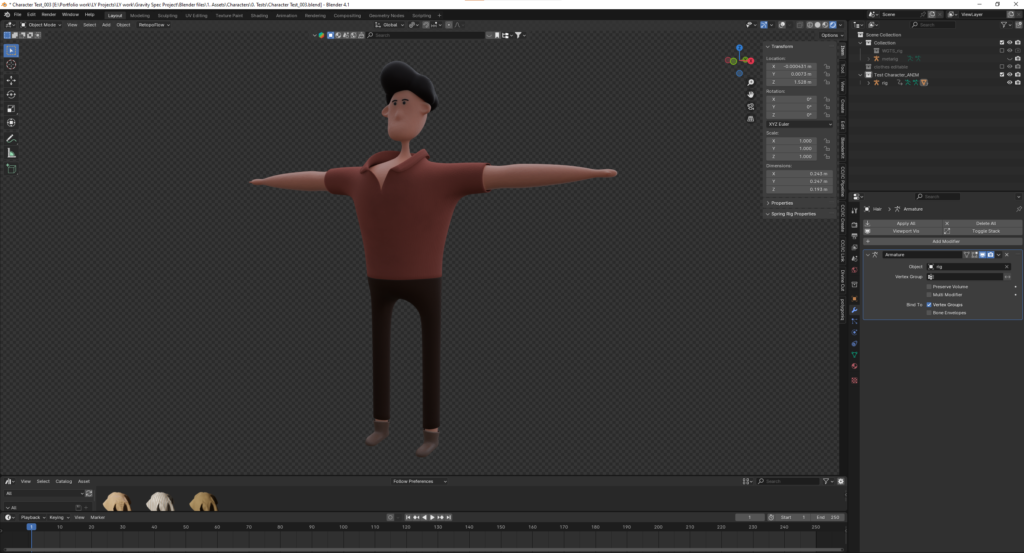
And the style was evolving in this way, but after some breakthroughs with figuring out a very cool clay material style things changed.
The video below is a how-to on how we made the clay material (if you are into that sort of thing).
Ultimately, we changed course and designed our character like this:
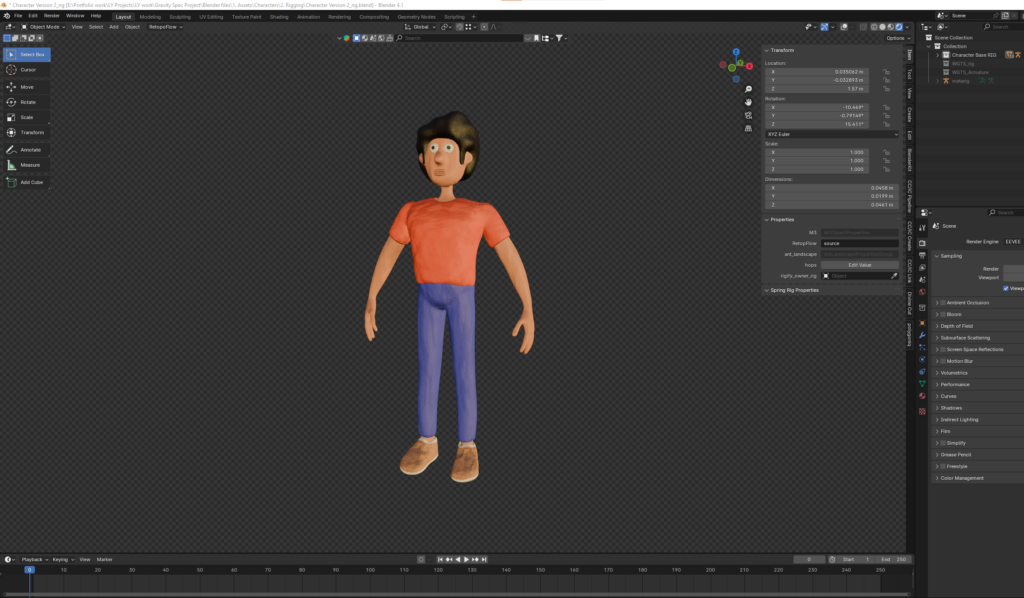
Part of the reason we changed is because we wanted fingers on the character, to help with communicating different movements.
This resulted in several rigging challenges. In reality the rig was what we in the industry call ‘fast and dirty‘. We used the Rigify rig and didn’t even spend time making it perfect.
Most of the characters were either far from the screen or not moving that much so we didn’t bother with refining it too much.
Production: Creating the Shots and the Edit
We made a timeline in Resolve which contained a screenshot of each storyboard and figured out some rough timing. Then went head and created each shot and rendered it out and added it on another layer in resolve.
To do this we recorded some scratch audio of the voiceover to figure out the timing of the shots. It needed to align with what was being said.
We didn’t realize for this kind of video it is paramount that the scratch audio be as close as possible to final voiceover to really get the timing and pacing for the animation correct, but we managed to make it work in the edit nevertheless.
As you can see the final shots timing differed greatly from our storyboard timing (because we didn’t make an animatic to guide us).
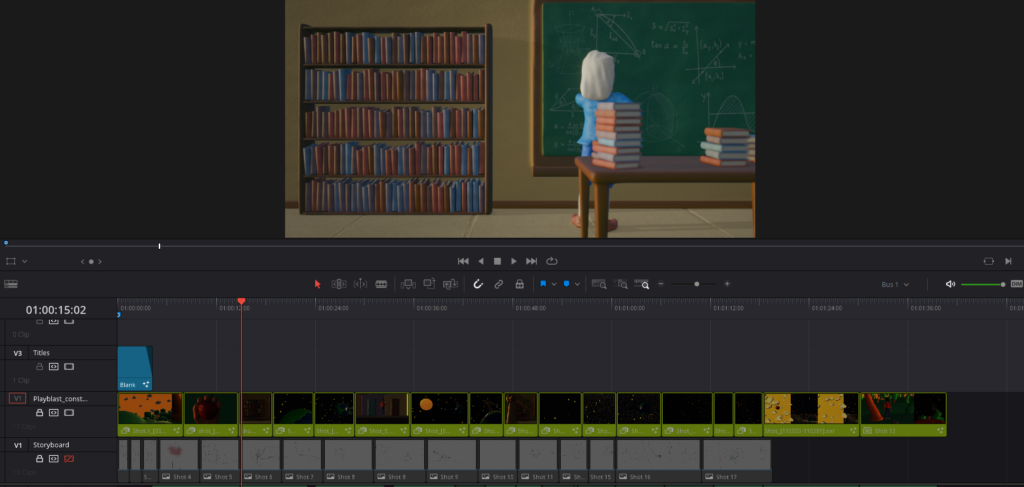
Creating each shot was not actually as hard as you would imagine save for a few technical challenges we faced it was actually a lot more straight forward because of all the pre-production work.
The big challenges came with we had huge gaps in out storyboard (note the number of actual shots and storyboard shots are different in above timeline image).
Since we didn’t create more detailed storyboards (which we do now in 3D) and we didn’t create an animatic, our timing and pacing was off and we had gaps in our video. These took the longest to make because we were essentially doing a mini pre-production phase for each shot.
Post Production: The Edit and Color Management
Editing the shot was its own process. We spent a lot of time refining the sound effects and picking music to fit the narrative. Then adding our title screens and end slides was important as well.
We got our voiceover artist to record the script while a silent version of the video played so she can get the timing right. However she was a bit slower than the video so we had to speed her up in post and cut out a bit of stuff to make it work.
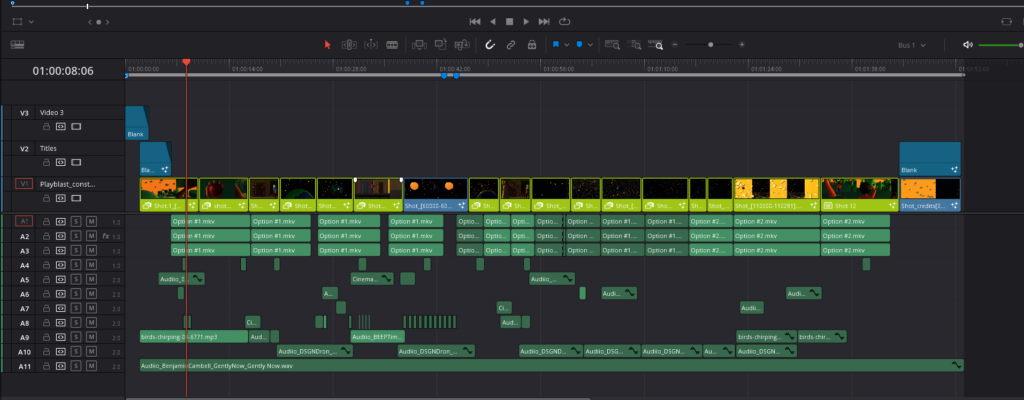
Ultimately though this was run-of-the-mill work for us. The real challenge came with color management.
Ensuring matching colors from Blender to Resolve was something we never expected to be so confusing. But after a lot of googling we managed to figure out a workable (if not inelegant) solution. We even made a video about it!
In The End it Really did Matter
The final result was something we are proud of. Check it out here:
But we are aren’t doing yet. This was just the beginning. We are already hard at work on our next project. something we hope will blow this project out of the water. Until then see you around.
